Step 1: Import Photos
Step 2: Generate Gallery
Tutorial on how to make a photo website.
Click below to navigate straight to section you're interested in.
The two steps below describe how to get started and create a photo gallery with a minimum of clicks.
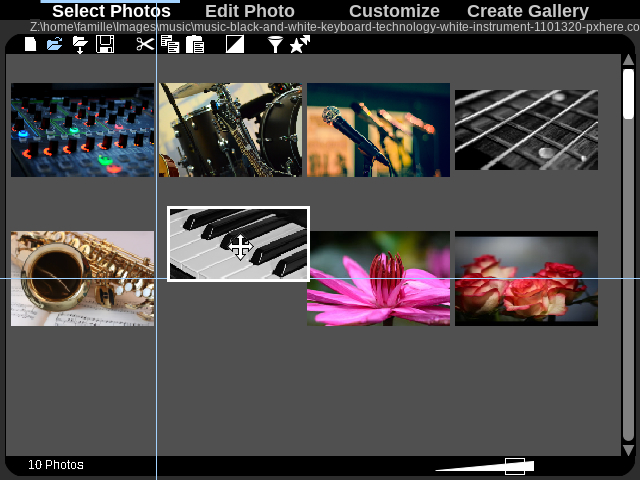
Import photos to be included in the photo gallery by clicking on the icon highlighted in blue below to open a file dialog.
The file chooser supports single or multi files selection (hold CTRL key while selecting individual photo files or press SHIFT key to select a range og photos).
Alternatively, you can import the full content of photos from a folder and its subfolders by using the next icon.
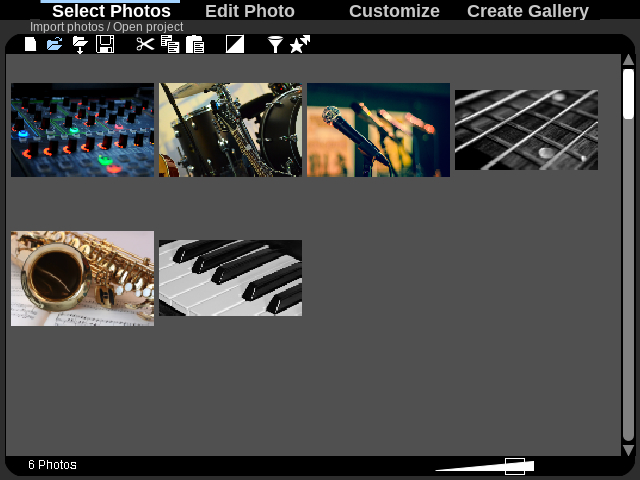
Once photos are imported, they are displayed as thumbnails on the light table. Thumbnails size can be adjusted using the slider on the bottom right.
Hundreds of pictures can be imported and HTTPhotos provide functionalities to ease and speed-up photo selection.
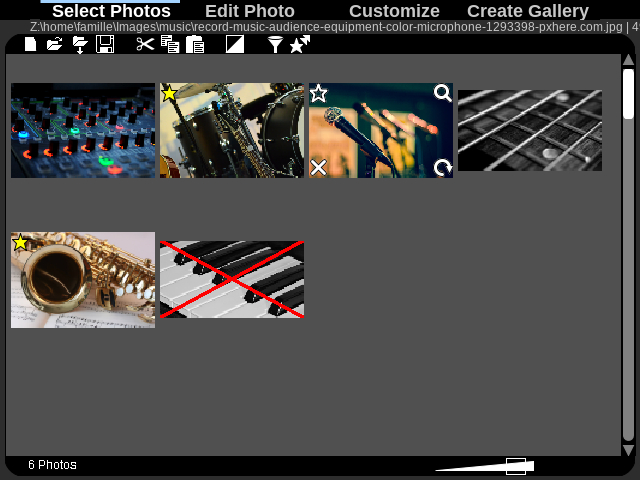
Best is to consider 2 options:
Any photo marked with a red cross won't be included to the photo gallery. Remove all excluded photos from the light table by using the filter icon.
Open a new instance of HTTPhotos containing all rated pictures by clicking on "pop-out stars" icon.
To rearrange the photo sequence, use drag'n drop functionality. Blue vertical and horizontal lines show where exactly the thumbnail will be inserted.
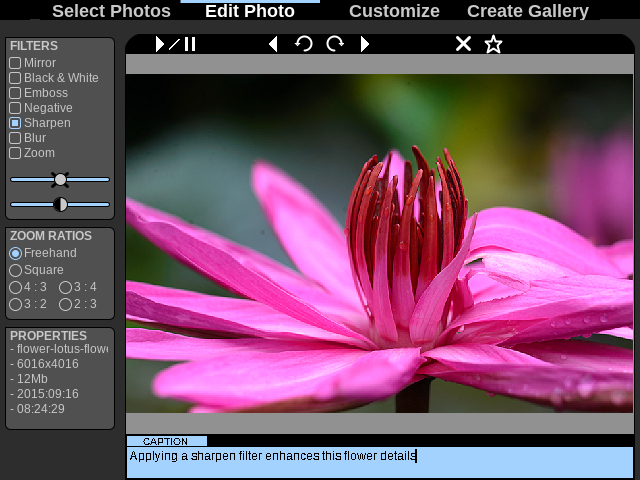
Set photo captions from the "Edit Photo" tab.
Enter text in the bottom text area as shown below.
Photo effects like contrast, luminosity, sharpening can be applied from "Edit Photo" tab.
Because HTTPhotos is working in Read-Only mode, those effects are only applied to the photo gallery and NOT to orginal pictures.
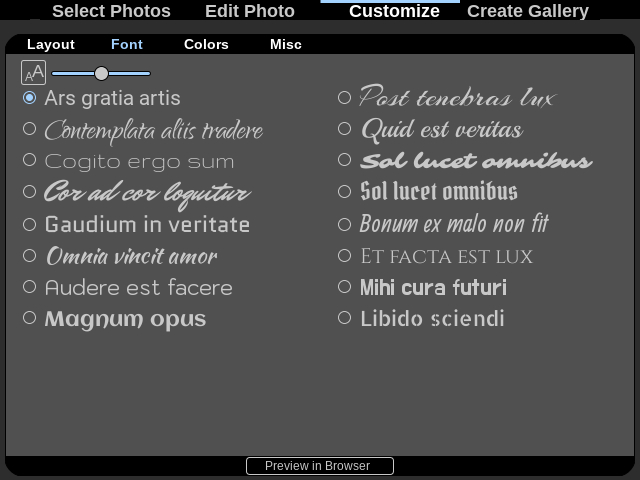
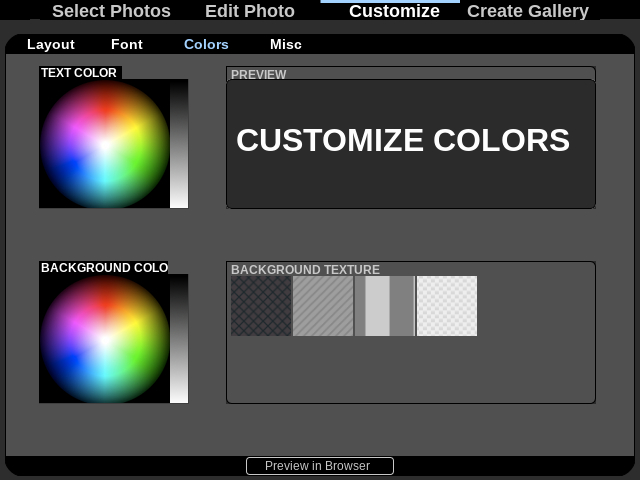
Customization is done from the "Customize" tab and its sub-menus: Layout, Fonts, Colors, Misc.
Customize your photo gallery by making a combination of all available options.
Use "Preview in Browser" button to open the resulting photo gallery in a web browser without actually updating the homepage.
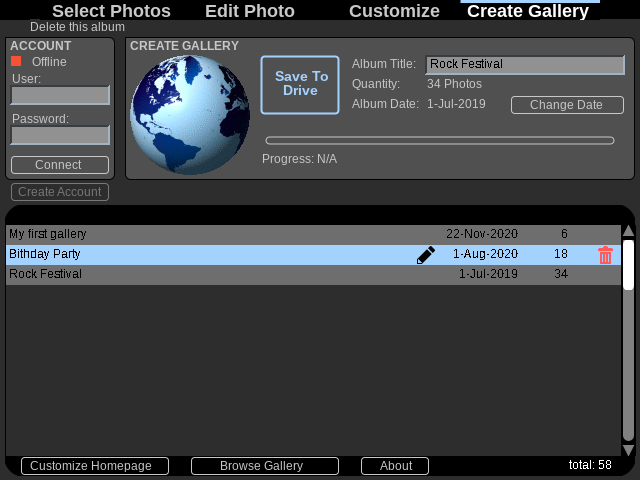
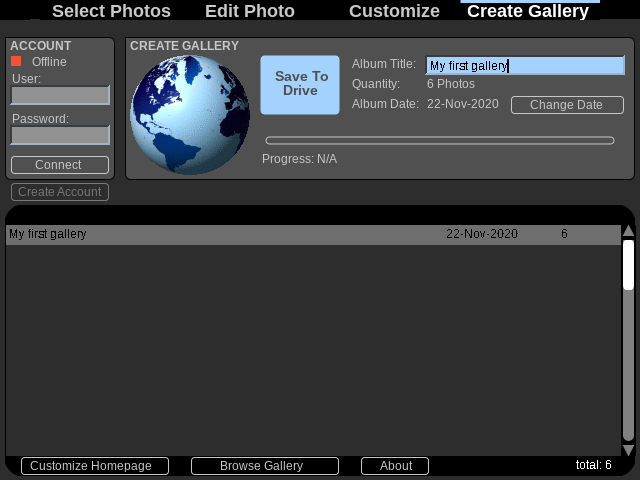
All photo albums added to the photo gallery are listed from the "Create Gallery" tab.
It is possible to: